Hosting Setup
All of the info in this post is long out of date. See Service worker rendering, in the cloud and in the browser for the latest setup.
Blogging Software
I decided to go with Jekyll, which ships templates for blog posts, but makes it simple enough to put together standalone pages.
Web Hosting
GitHub Pages is free, which is nice, and (obviously) has first-class support for version control.
GitHub Pages natively supports Jekyll, which means I just need to add the raw material to source control, and the _site content will be automatically generated.
If you don't care about a custom domain then you can stop at this point—you can serve your site off of https://youraccount.github.io. No effort required for HTTPS support!
jeffposnick.github.io is the GitHub repo with this site's content, if you want to check out what's going on under the hood.
Registering the Domain
I registered "jeffy.info" using Google Domains.
Google Domains is in invite-only beta mode at the moment, but using an alternative domain registrar shouldn't change the process much.
(I was surprised at how easy it was to get a .info domain—for whatever reason, they don't seem to be very popular. Check them out rather than settling for some obscure .com.)
Add a CNAME file to GitHub
As per the instructions, I added a CNAME file to the top-level of the repo and pushed to GitHub.
CloudFlare Setup
This was my first time using CloudFlare, so I needed to set up a (free) account.
I told CloudFlare that I wanted it to take control over the "jeffy.info" domain, and I set up two A records for the bare ("apex") domain "jeffy.info" to resolve to the two published IP addresses for GitHub's servers.
I also set up a CNAME record for "www" as an alias of "jeffposnick.github.io", so that "www.jeffy.info" will resolve.

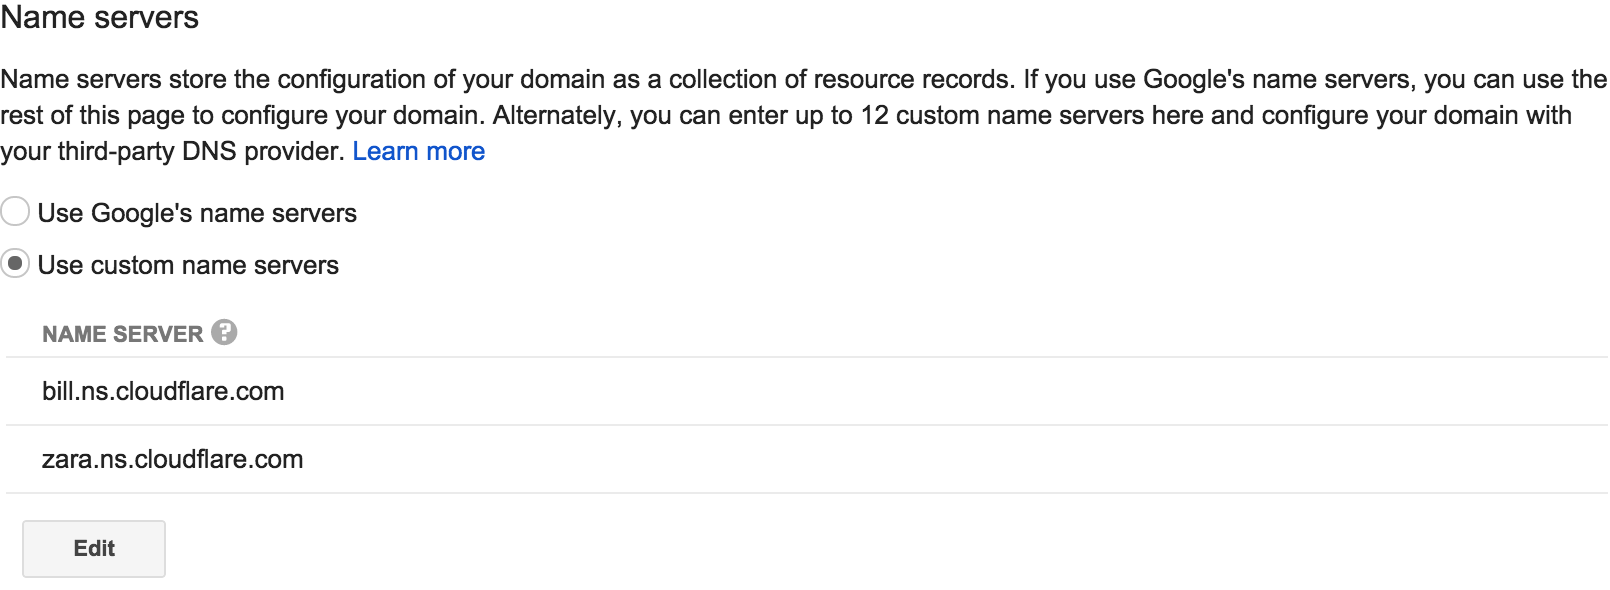
Changing the Google Domains DNS Settings
In order for CloudFlare to start serving traffic for "jeffy.info", I needed to change the authoritative DNS settings for the domain to point to CloudFlare's severs. This was straight forward with the Google Domains UI (refer to your registrar's online help if you're using something else):
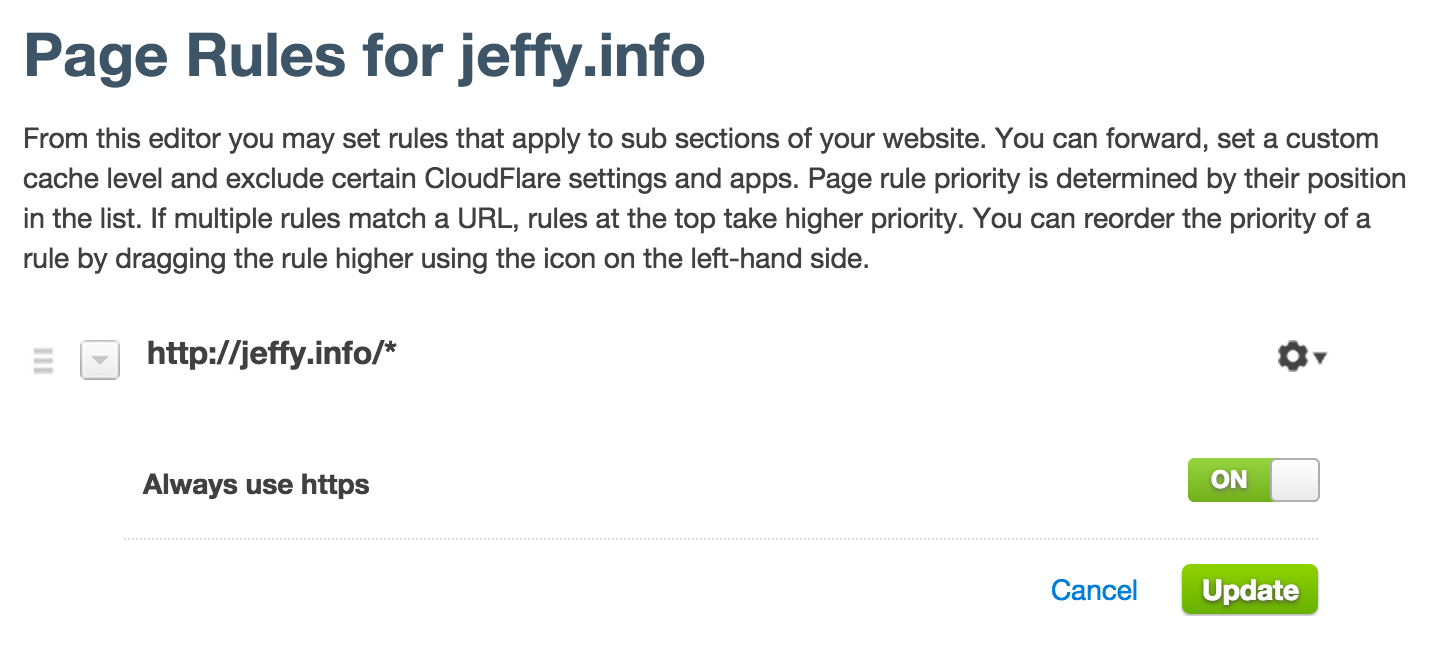
HTTPS-only Setup
CloudFlare auto-provisioned a certificate for "jeffy.info" withing a couple of minutes, which was awesome and as painless as promised. Make sure you use the "Flexible SSL" option, which is required to work with a GitHub Pages backend server. Using "Flexible SSL" means that the GitHub Pages ⇔ CloudFlare traffic isn't encrypted, but the CloudFlare ⇔ user's browser traffic is. That's sufficient for my goal of enabling web functionality that requires HTTPS to the end user's browser, but it's probably not a good idea if you're concerned about traffic vulnerabilities in the GitHub Pages ⇔ CloudFlare hop. I want to make sure that my blog is HTTPS-only, and CloudFlare's page rules interface allowed me to set that up:
Optimizing Content
Since CloudFlare is a full-fledged CDN, they offer a number of content optimization options. In general, I turned off most of the settings, but I did enable HTML + JS + CSS minification:

Since I'm relying on GitHub Pages to do my Jekyll's _site build, it seemed easiest to just let CloudFlare handle the minification rather than trying to work out a scripted solution.
CloudFlare offers image minification as well, but only as part of their paid offering. So I'm using gulp-imagemin locally on all my images, and pointing to the minified versions in posts. Be sure to minify your images!
Future Tweaks
I'm not particularly happy with the default Jekyll templates, and have already made a few changes.
I'm sure there will be lots of twiddling with that to come.
I'm also not particularly familiar with the best practices for a build workflow. I've got a basic gulpfile.js that I'm sure will grow over time.